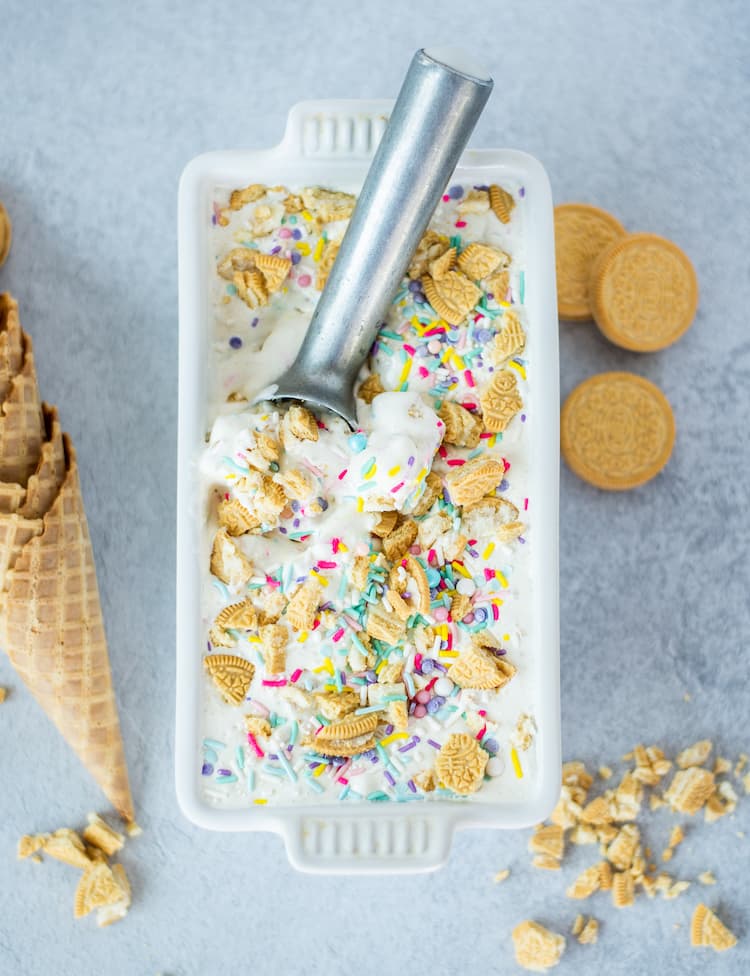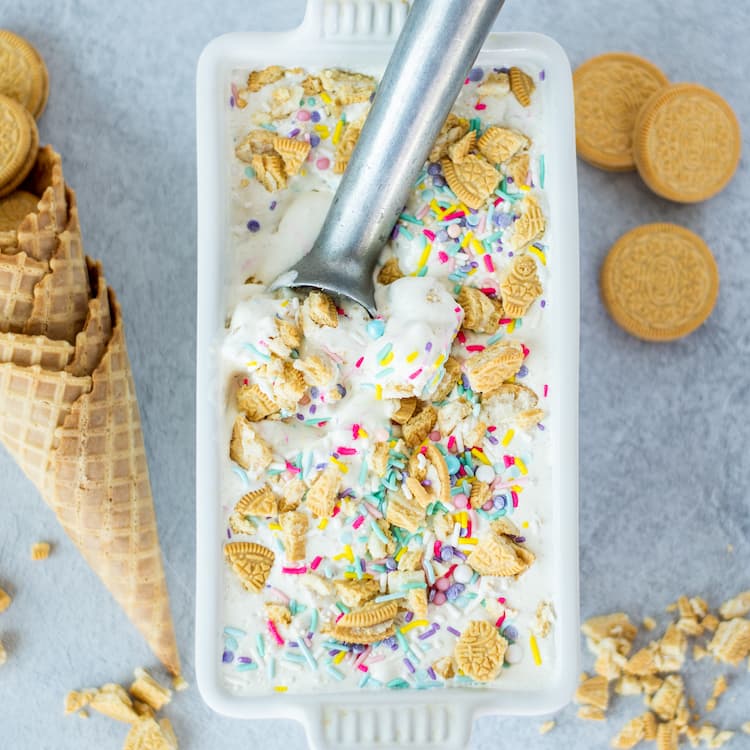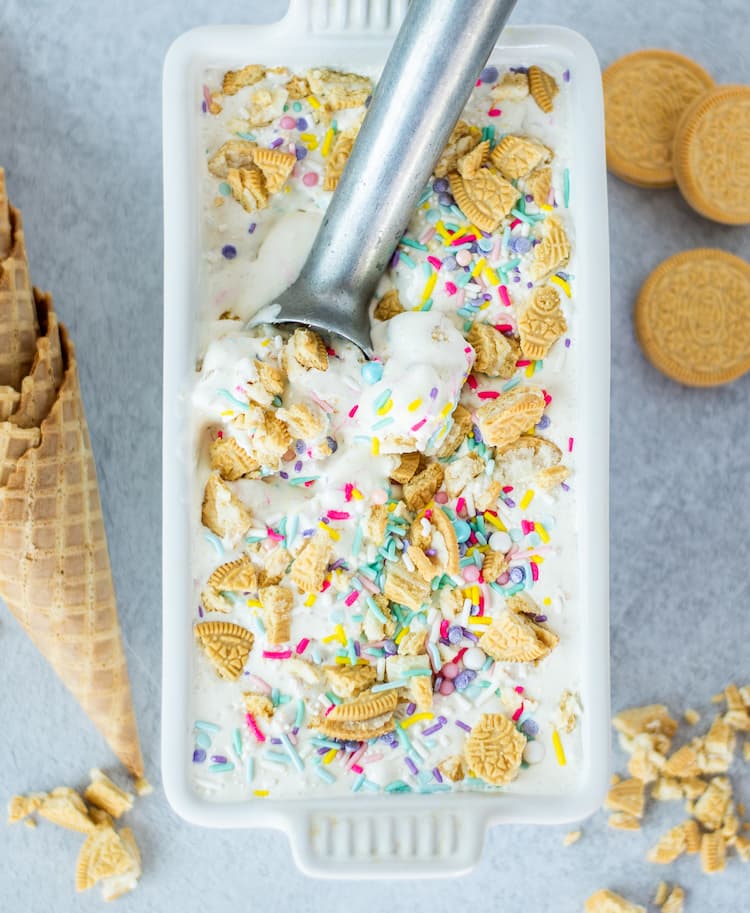
Frozen desserts don’t have to be difficult! This no churn cake batter ice cream doesn’t require an ice cream maker and only requires 6 ingredients!
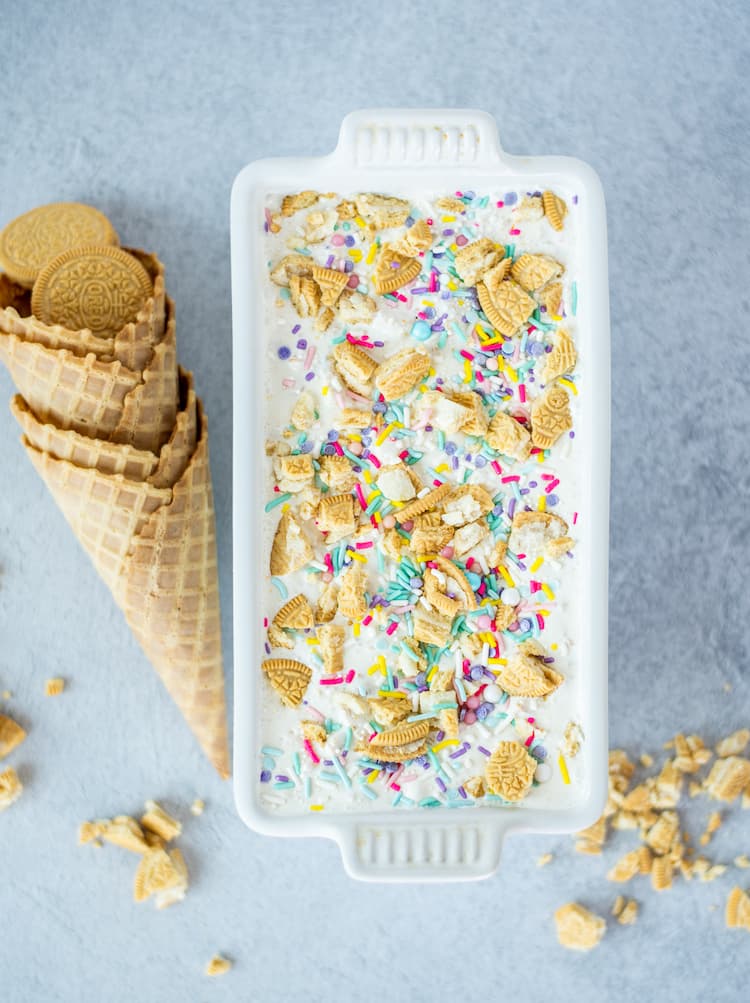
No Churn Cake Batter Ice Cream
The perfect summer dessert: it doesn’t get much better than ice cream. The thing about true-to-form ice cream is that it requires an ice cream maker and patience, and while I absolutely love real deal ice cream, sometimes you just want a homemade frozen dessert that doesn’t require a ton of extra time and work. This no churn cake batter ice cream requires 6 ingredients. For soft serve-style ice cream, it is ready after about 4-5 hours of inactive time. If you are looking for a harder ice cream consistency, it will take about 12 hours of inactive time. One thing is certain, while this isn’t a traditional ice cream (I’m not sure if we can even call it ice cream, but who cares.), this no churn cake batter ice cream is super sweet and super delicious. Serve it in a bowl or a cone. Either way, you can’t go wrong!
What will I need to make this recipe?
16 oz Cool Whip (or similar brand) or 2 cups heavy cream (whipped to stiff peaks)
1 can sweetened condensed milk
1 tsp vanilla extract
2 tbsp store-bought yellow cake mix
24 chopped vanilla sandwich cookies like Golden Oreos
1/2 cup sprinkles
My ice cream is super melty. What should I do?
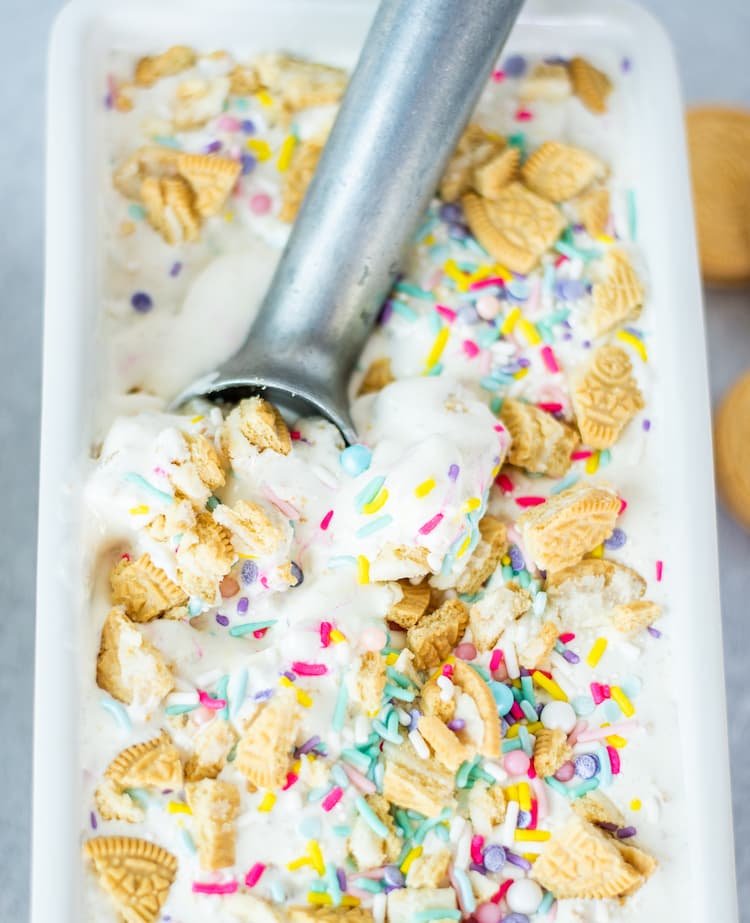
Personally, I am a fan of a melty ice cream, so I tend to let it freeze for between 4-6 hours. However, waiting is your friend in this instance, so if you are looking for a harder ice cream, just freeze it for longer. If you have over-hardened your ice cream, and want it a little meltier with a soft serve consistency, just take it out of the freezer and let it stand at room temperature for about 5-10 minutes before serving.
No Churn Cake Batter Ice Cream
What sprinkles should I use?
I like to use these sprinkles. They are so fun, and they come in so many colors. Beware, the large “ball-shaped” sprinkles can be a little hard on the teeth! Eat with caution.
I thought you weren’t supposed to eat raw cake mix. Can I omit this ingredient?
It is fair to say that you should not eat large amounts of cake mix or other dry baking products (like flour). I like to use cake mix for this recipe because it gives more of a cake-like flavor, and honestly it’s not much at all per serving. Feel free to omit it if you are nervous though. No judgement here! I think that the cookies and the condensed milk really do make this no churn cake batter ice cream taste like cake so leaving out the cake mix isn’t going to kill the recipe. :)

Are you looking for more great ice cream recipes on Cooking and Beer? Well, we have a ton of them! Check out some of my favorite ice cream recipes!
No Churn Cake Batter Ice Cream
Servings:
12 servingsNutritional information is only an estimate. The accuracy of the nutritional information for any recipe on this site is not guaranteed.
Ingredients
- 16 oz Cool Whip (or similar brand) or 2 cups heavy cream (whipped to stiff peaks)
- 1 can sweetened condensed milk extra for sweeter no churn ice cream
- 1 tsp vanilla extract
- 2 tbsp store-bought yellow cake mix up to 1/4 cup for more texture and sweetness
- 24 chopped vanilla sandwich cookies like Golden Oreos
- 1/2 cup sprinkles
Instructions
- Using a handheld mixer (or stand mixer with whisk attachment fixed), beat the Cool Whip (or similar Brand), sweetened condensed milk, vanilla extract, and cake mix until smooth and creamy. If you are using homemade whipped cream, gently fold in sweetened condensed milk, vanilla extract, and cake mix until thoroughly combined. Be gentle in the folding process as to not release too much air from the whipped cream.
- Fold in the sandwich cookies (reserving about 2 tbsps) and the sprinkles (reserving about 2 tbsps).
- Pour the mixture into a loaf pan, top with remaining cookies and sprinkles, cover tightly with plastic wrap and foil, and freeze for at least 4 hours (soft-serve) to 12 hours (for a harder ice cream consistency) before serving. No churn ice cream will keep in the freezer for about 2 months.
Don’t forget to follow us on Instagram, and be sure to tag us if you make this dish!
